Welcome to this lesson on table saws. Start by watching this video introduction and reading the summary below it.
Video Summary: The table saw is thought by many to be the center of a woodworking shop. Some estimates suggest that 80-90% of all woodworking projects call for the use of a table saw for at least one step in any project. However, as useful as this tool is to the user, any woodworker must approach the use of this tool with a thorough knowledge of its use and a very healthy dose of respect for the potential of serious injuries that can happen if it is misused.
— What You Will Need to Know —
To use a table saw well and safely, complete this lesson, pass the quiz, and earn your Table Saw Information Badge, you will need to know the following things:
- What table saws are, their major parts, and how they work.
- The difference between cross cuts, rip cuts, mitre cuts, bevel cuts, dado cuts, and curve cuts.
- The purpose of the following table saw accessories and how to identify them when you see them:
- blade guard
- splitter
- pawls
- rip fence
- miter gauge
- try square
- gripper
- push stick
- table extensions
- outfeed table
- insert plate
- featherboard, and
- sled.
- The different kinds of blades commonly used in table saws for different purposes.
- How high the blade should be set in comparison to the wood being cut.
- How to change table saw blades, and
- What “kickback” is, what causes it, and how to avoid it.
As you move ahead, use the information in the text, diagrams, videos, and interactions to learn these things.
Why Table Saws Are Important
The table saw is a powerful, versatile tool that can save lots of time and can produce very precise cuts. Watch the eight minute video below by Steve Ramsey’s Youtube Channel, “Woodworking for Mere Mortals,” entitled “Seven Things to Get You Started Using a Table Saw.” It gives a great overview on using this tool and using it safely. As you watch this video, learn Steve’s two basic safety rules for the table saw, and how to change table saw blades. Also, learn what kickback is and how a riving knife, or “splitters” can help, and how you can keep your fingers away from the blade, even when cutting small pieces. The section on using “stop blocks” is also good to remember.
That was a lot to remember, and it went by very quickly. Don’t worry, we’ll review all of this information before you move on.
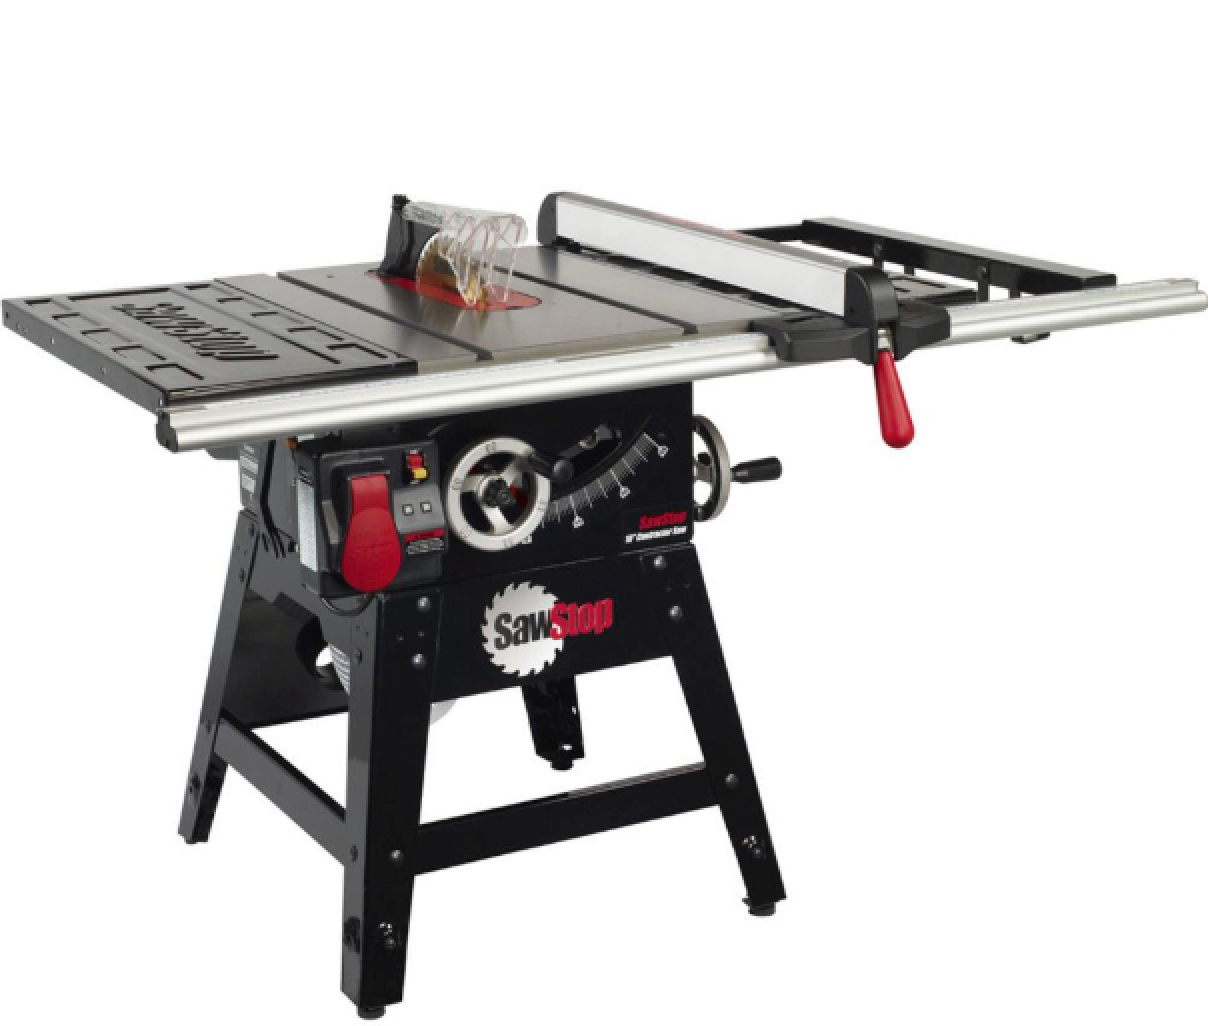
Types of Table Saws
Watch this one minute video to learn about the different types and brands of table saws.
How Table Saws Work
What goes on inside a table saw? How does it work? How fast does the blade spin? Watch this video to find out.
Wow. The saw blade is spins around about 100 times per second (when it’s not cutting wood). If it’s spinning a 50 tooth blade, that’s 5,000 saw teeth past the wood (and the woodworker) every second. That’s real cutting power, and that’s why you need to respect the table saw and learn about table saw safety.
The Blade Guard, Splitter and Pawls
This next video explains the purpose and operation of three important safety devices, the blade guard, the splitter and the pawls. As you watch this five minute video, learn what each is and how it works, and learn about “kickback,” a dangerous event that can be avoided.
Table Saw Accessories
The next video will help you understand several of the most important table saw accessories — all designed to make your work safer, easier, and more precise. As you watch this video, learn the roles of the saw’s table, table extensions, outfeed tables, and rip fences, and how they work.
Rabbets and Mitres and Dados – Oh my!
In this next video, we explain mitre gauges, mitre cuts, cross cuts, rabbets and dados. We realize that might sound like we are speaking a whole different language, but, like professionals in many other professions, woodworkers have developed specialized tools and methods, and some interesting terms to label and describe them. As you watch, you’ll learn about accessories, new types of cuts and joints, and how the table saw makes building solid products easy.
A Closer Look at Table Saw Sleds
Mitre Gauges are great for some cuts, but pthers are best made with a larger, bed-like sable saw accessory called a “sled.” Here’s a great four-minute video discussing and demonstrating how a sled can help you do more precise work, more safely.
— Show What you Know —
Table Saw Accessories
Now review what you know by using the activity below. It consists of eight multiple choice questions that will help you remember what you have just read and seen in the videos. After each question you can use the “Check” button to see if you were correct. If not, you can use the “Retry” button to try again. When you are ready to try the next question, use the little round button with this symbol “>” to move ahead. When you have answered all of the questions, click the “Finish” button to learn how well you did overall.
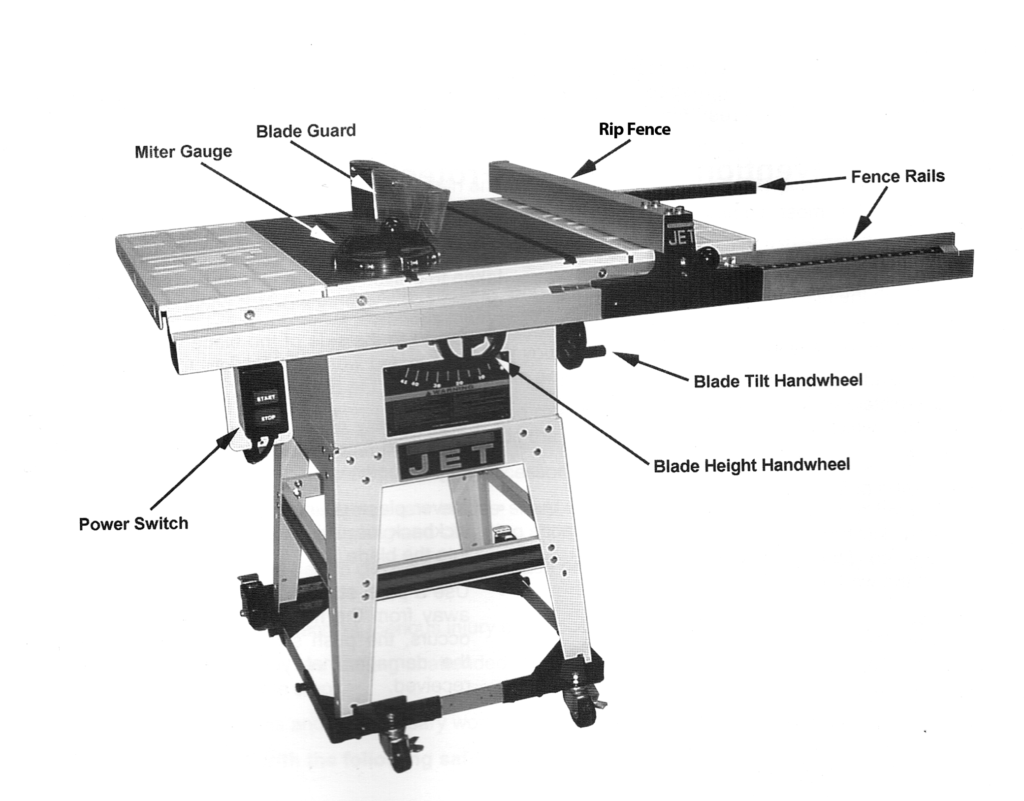
Parts of a Table Saw
Study the diagram below, until you think you know the major parts of a table saw and where they are located on this brand and model. Then, try the drag and drop activity below the diagram to drag part labels onto the correct part.
— Show What You Know —
Table Saw Parts
Use the activity below to practice identifying the important parts of a table saw by dragging the part names from the lower right corner to the ends of the arrows that point to the parts. When you are done, click the “Check” button to see how you did.
The Six Most Common Cuts Made on a Table Saw
Table saws are used to cut material, usually wood, into various lengths and shapes, to form component pieces for planned projects. The following six types of cuts are the most common cuts made on table saws.
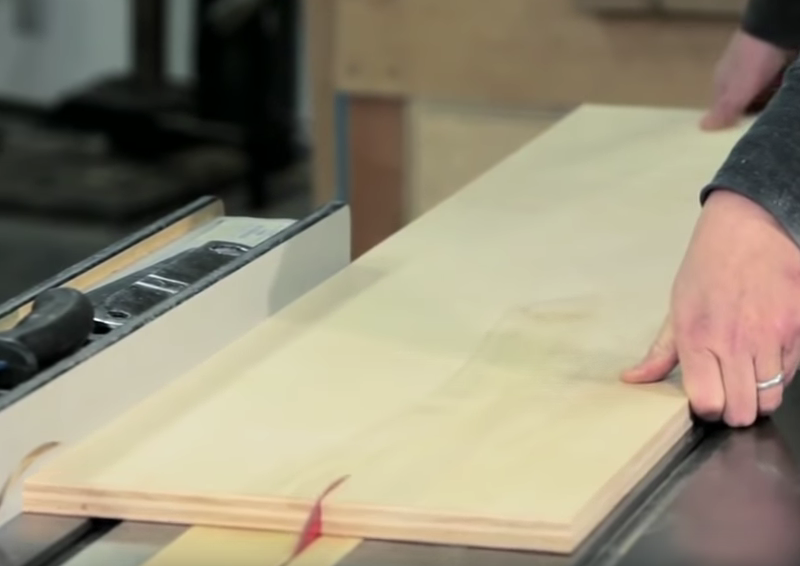
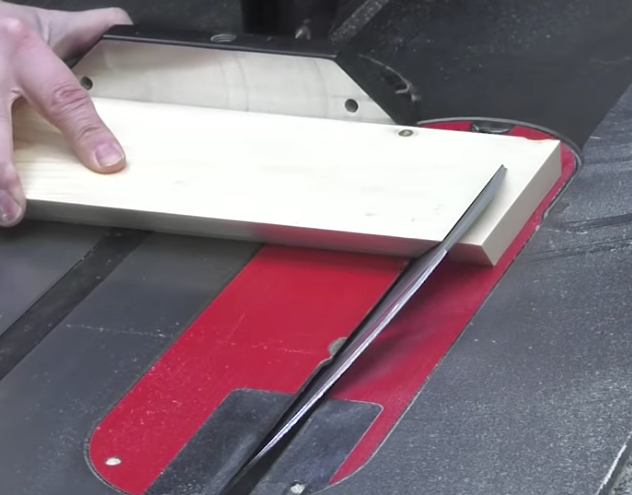
A rip cut, is performed when the user cuts along the length of a piece of stock, or with the grain, using a fence to help to guide the cut, to form two or more narrow pieces.
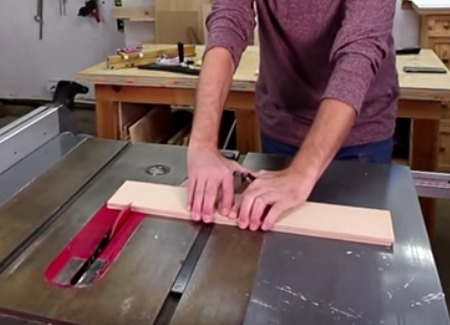
A cross cut is performed when the user cuts across a piece of stock or against the grain, in order to form two or more shorter pieces.
A miter cut is formed when the user guides a piece of stock at an angle and against the grain, to form two or more pieces to be joined.
A bevel cut is similar to a miter cut in that it is for the purpose of forming an angle. However, a miter cut is formed by guiding stock at an angle into a blade that is perpendicular to the table. A bevel cut is formed when stock is guided into a blade that is placed at an angle to the table. A bevel cut can also be made both with the grain, as well as against the grain.
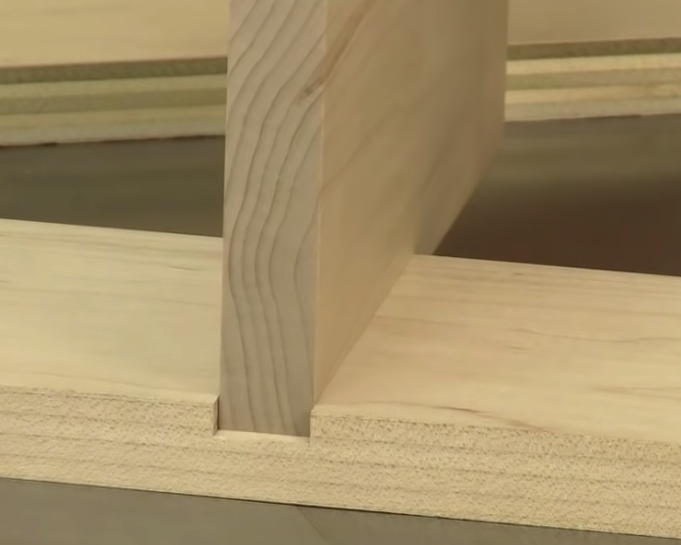
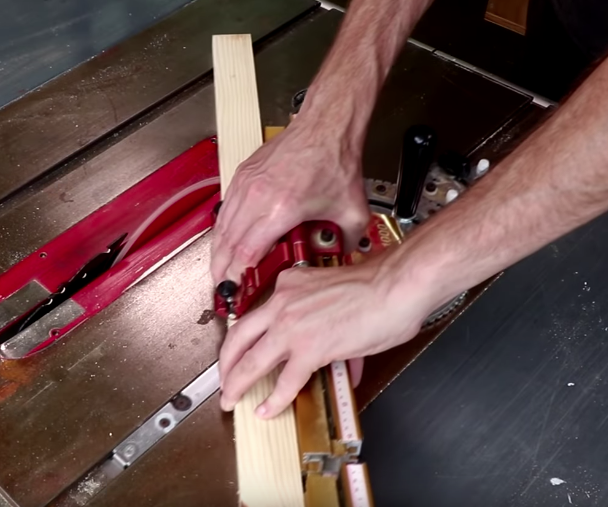
A dado cut is formed when the user wishes to cut a channel in a piece of stock. A dado can be performed by either making multiple guided passes using a single blade, or by using a set of stacked blades, in a single pass. Most dados are cuts made across the grain.
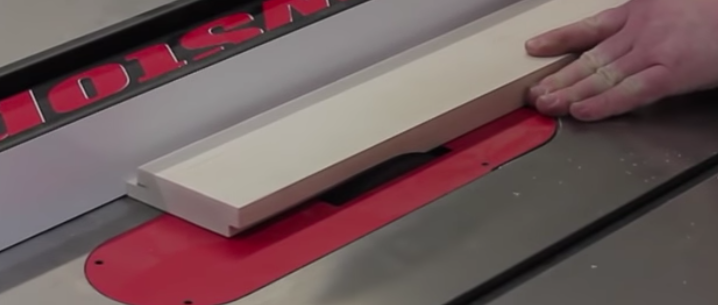
A rabbet cut is formed in a similar manner to that of a dado in that the user can choose to use a single blade and make multiple, guided passes or by using a set of stacked blades, making a single pass. A rabbet cut differs from a dado because a rabbet forms a channel on the edges of a piece of stock, rather than through the stock. A rabbet cut can be made both with the grain, as well as against the grain.
— Show What You Know —
Common Table Saw Cuts
Drag the names of the cuts at the bottom of the activity below beneath the image representing that cut.
How to Use a Table Saw
Conclusion
Other Resources about Table Saws
- You’ll find a good review of table saw use in this six minute video by WoodworkWeb.
- A text-based review can be found on, this web page on Table Saw Specifications by “Woodworking for Dummies”.
- Here’s a good video on choosing table saw blades.
- Watch this video on the five most common cuts and the tools best suited to make them.
- Here’s a this diagram.