About Kazoos
Kazoos are fun, cool musical instruments that almost anyone can play. I say almost, because you need to be able to hum, rather than blow into it. Some people (especially really young kids) have trouble figuring that out. But once they do, the fun begins.

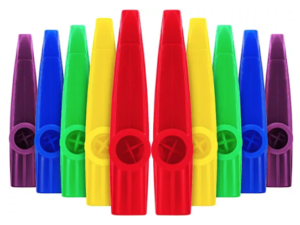
Most kazoos are made of thin metal or plastic and are rather cheap toys.
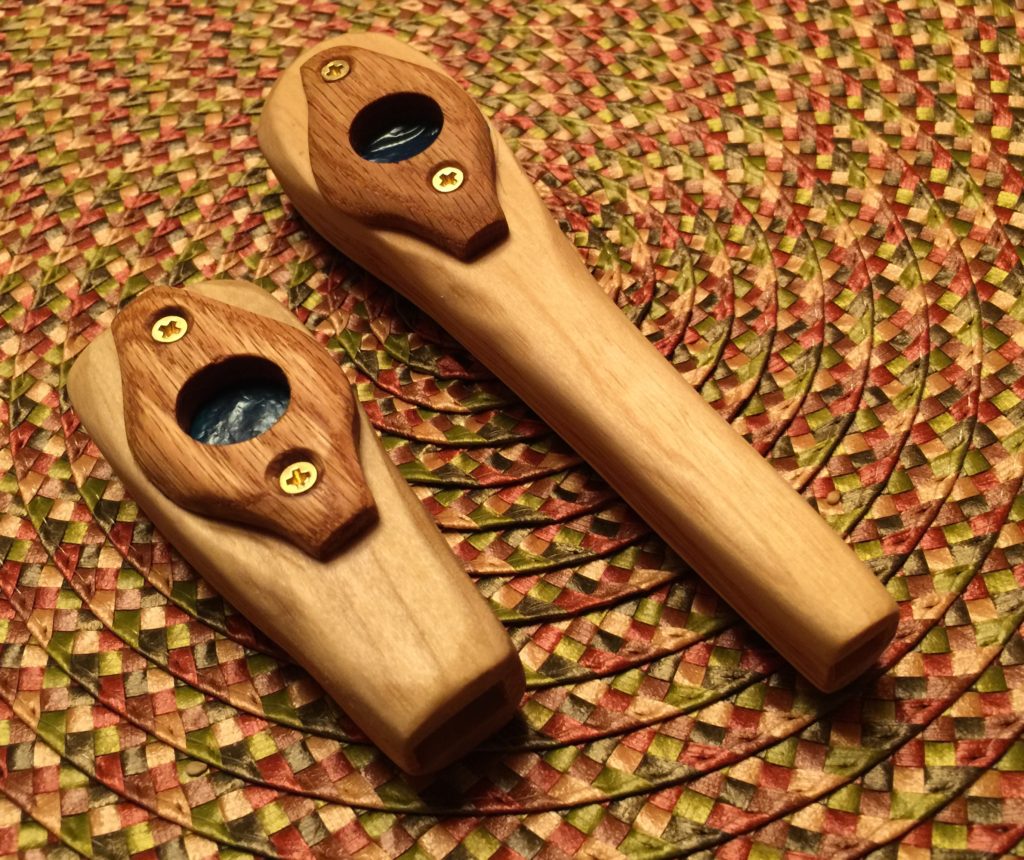
However, with basic woodworking tools and skills, you can make a wooden kazoo that will work really well, will look and feel beautiful, and will last a long time.
Don’t worry about making it perfect. Have fun with it. Embrace the imperfections that prove that it’s handmade.
How does a kazoo work?
According to Wikipedia…
“A kazoo player hums, rather than blows, into the instrument. The oscillating air pressure of the hum makes the kazoo’s membrane vibrate. The resulting sound varies in pitch and loudness with the player’s humming. Players can produce different sounds by singing specific syllables such as doo, who, rrrrr or brrrr into the kazoo.
Some people refer to the kazoo’s membrane as a reed, considering it performs the same action in the kazoo as it would a woodwind instrument, however reeds are made of wood, which the membrane is not (most commonly waxy paper).”
How to Make a Wooden Kazoo
Making a kazoo requires only a few materials, a few tools, and about an hour or two. The steps below show you one way to make one, and the section “More Resources” at the end of this page will lead you to other ways.
To make a kazoo you start by drilling a long hole through a piece of wood, or by making a small wooden box, to serve as a channel to carry the vibrating air. Then you drill a hole that intersects the channel, and put a membrane in place across it, so it will vibrate and amplify and distort the sound or your humming. We’ll use the “create a box” method.
The video below provides an overview of the entire process which is then described in detail.
Step 1: Rough Cutting the Parts
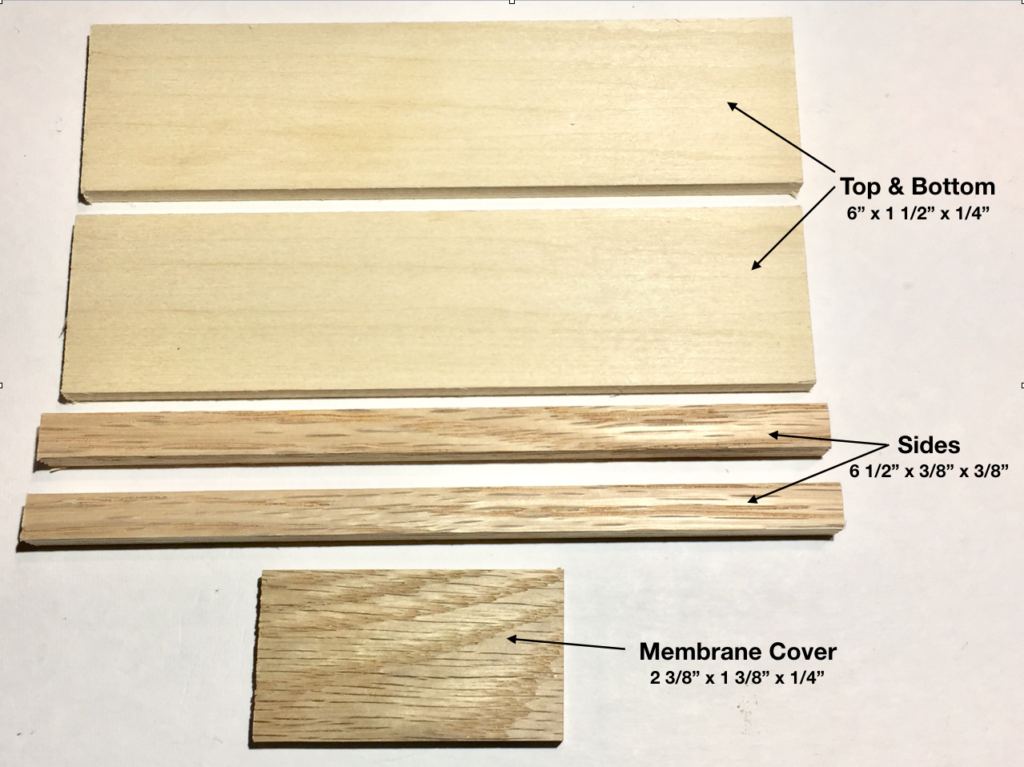
We’ll make a small box by cutting thin pieces of wood (preferably 1/4″ or 3/8″ thick) into five rectangles. For each kazoo, we will need:
- A top and a bottom piece, cut to about 1 1/2″ by 6″
- Two side pieces, cut to about 3/8″ by 3/8″ by 6″ and
- One membrane cover, about 1 1/2″ by 2 3/8″.
Step 2: Gluing the Box Together
Once you have these pieces, glue the long thin sides onto the top and bottom pieces. If the sides are not square (for example if they are 3/8″ by 1/4″) put the glue on the widest sides. When you glue to the top and bottom, taper the sides so that the final kazoo shape can be be wider at one end. We suggest starting them at the corners of what will be the wide end, and bringing them in about 1/4 inch at the narrow end. Use a glue that is non-toxic, since the kazoo will go into someone’s mouth. We recommend Titebond II or III, or Superglue, so that you don’t need to wait too long before you can begin to shape the kazoo with a saw. Be careful if you choose superglue, and consider wearing nitrile gloves. (You don’t want to glue your fingers together. If you do, we hear that working a little vegetable oil in there will get them unstuck.) If you go with Titebond or similar wood glues, we suggest clamping the parts together for about 20 minutes before sawing (or whatever is recommended), or wrapping them tightly with rubber bands or string if you don’t have clamps handy.
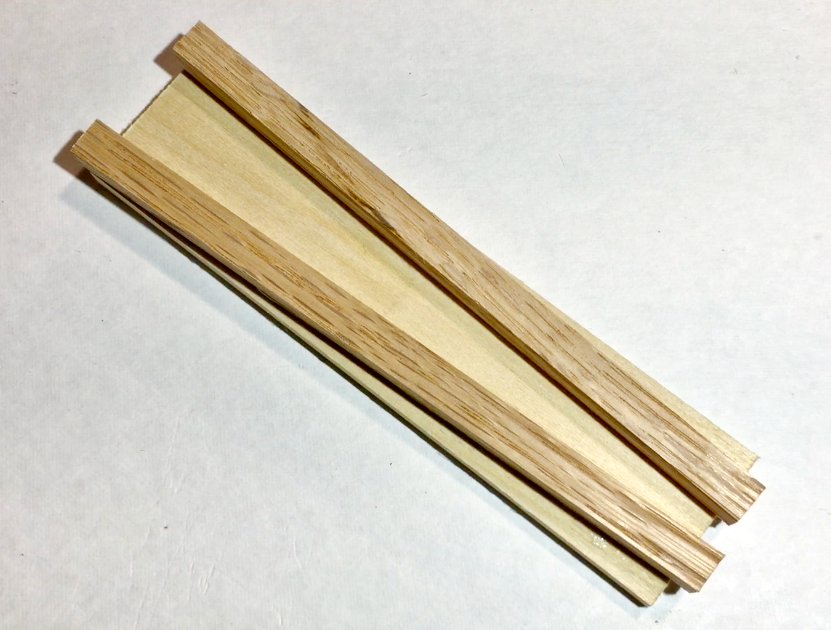
Bottom and Sides Glued at an Angle 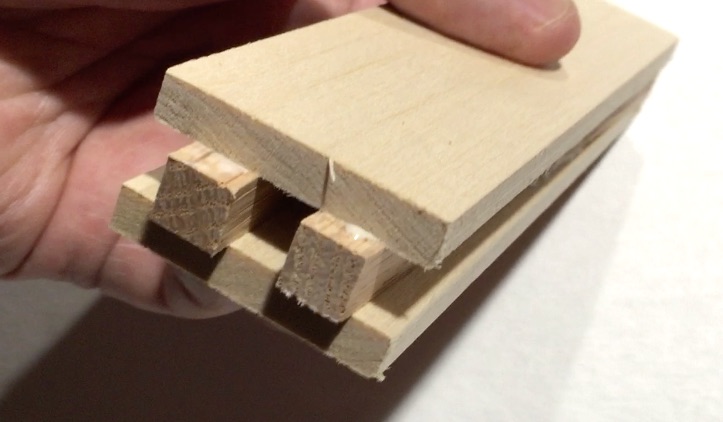
Top, Bottom & Sides from Narrow End 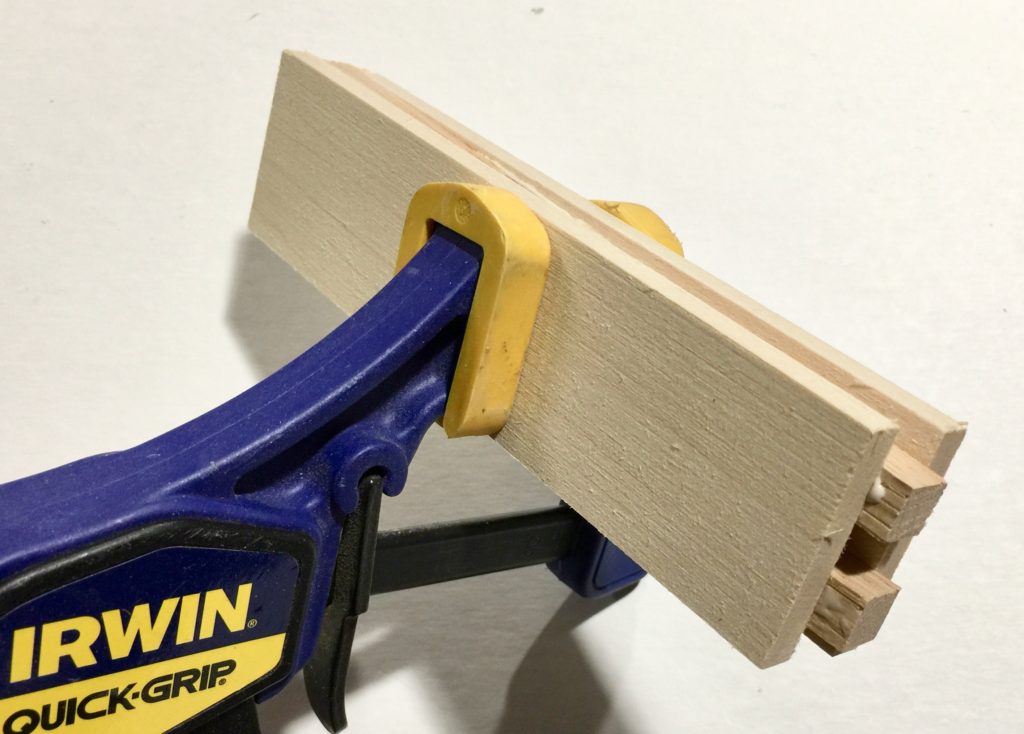
Kazoo Box Clamped 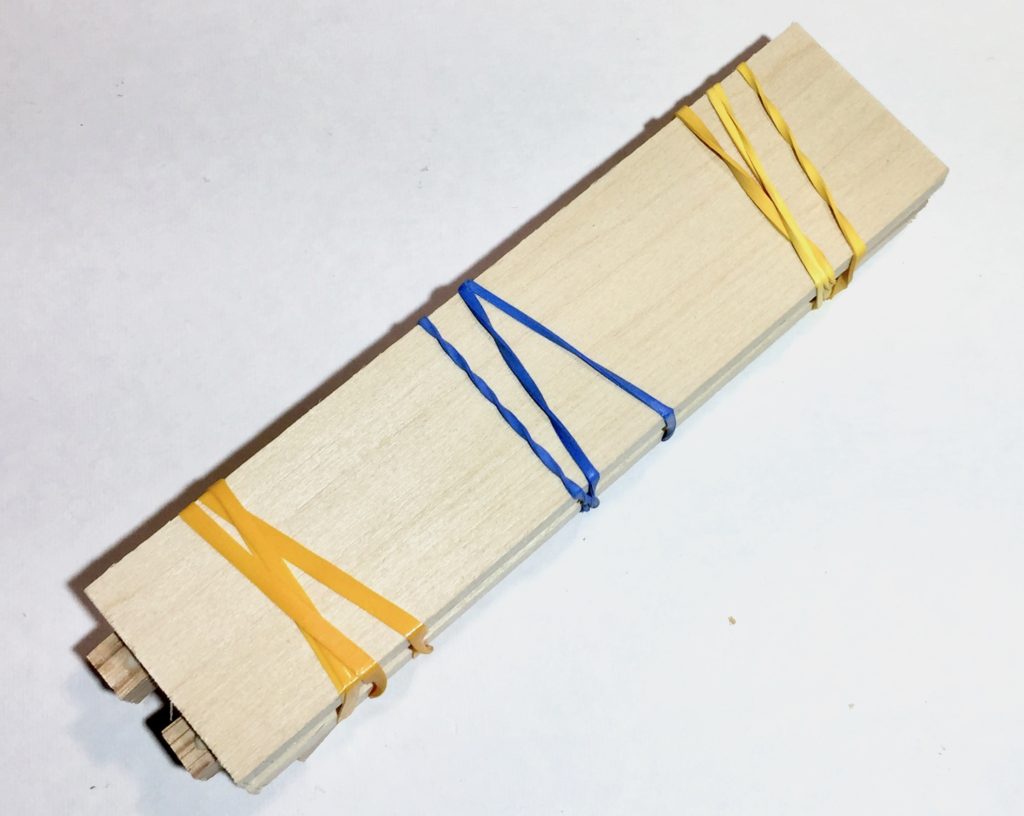
Kazoo Box with Rubber Bands
Step 3: Sawing to Shape
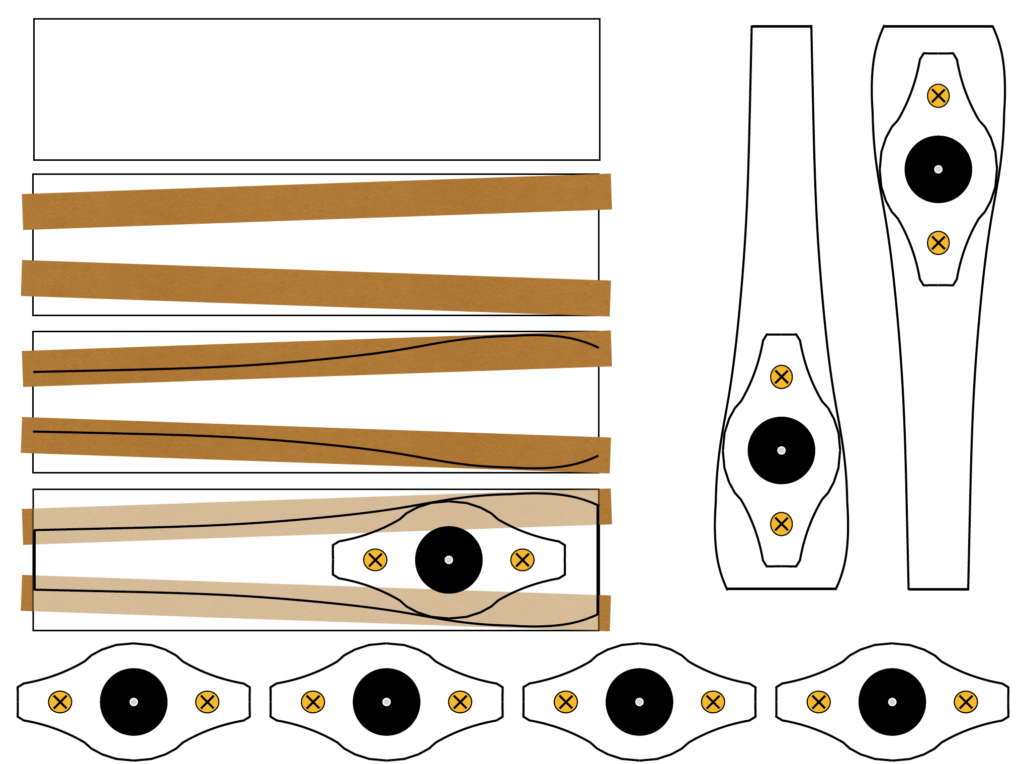
The next step involves sawing the rectangular box and membrane cover to remove the extra wood. This can be done efficiently on a band saw, or on a scroll saw. Before you saw, however, you will need to know where the cuts should be. You can click here to download a pattern and then you can stick it to the wood using a spray adhesive (made to allow the paper to peel off later) or rubber cement. Or you can cut out the paper pattern and trace around it. (You only need a pattern on the top OR bottom, since you’ll be cutting the whole thing at once.)
When you transfer the pattern to the box, be sure to get the wider end on the end where the sides are also wider. If you don’t you may cut through the sides and into the channel for the air to follow.
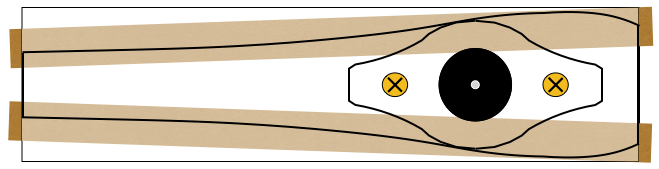
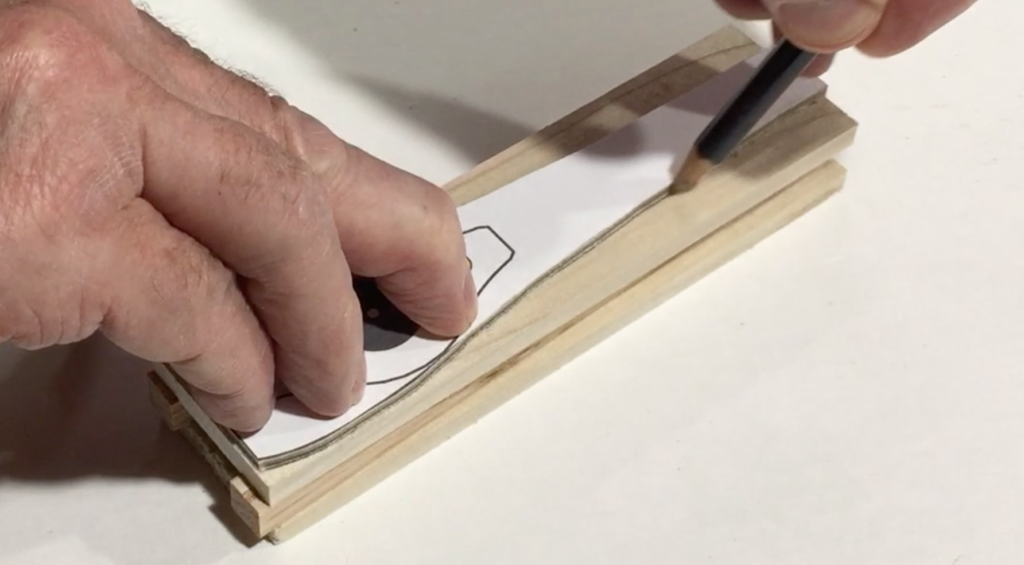
Tracing Kazoo Pattern 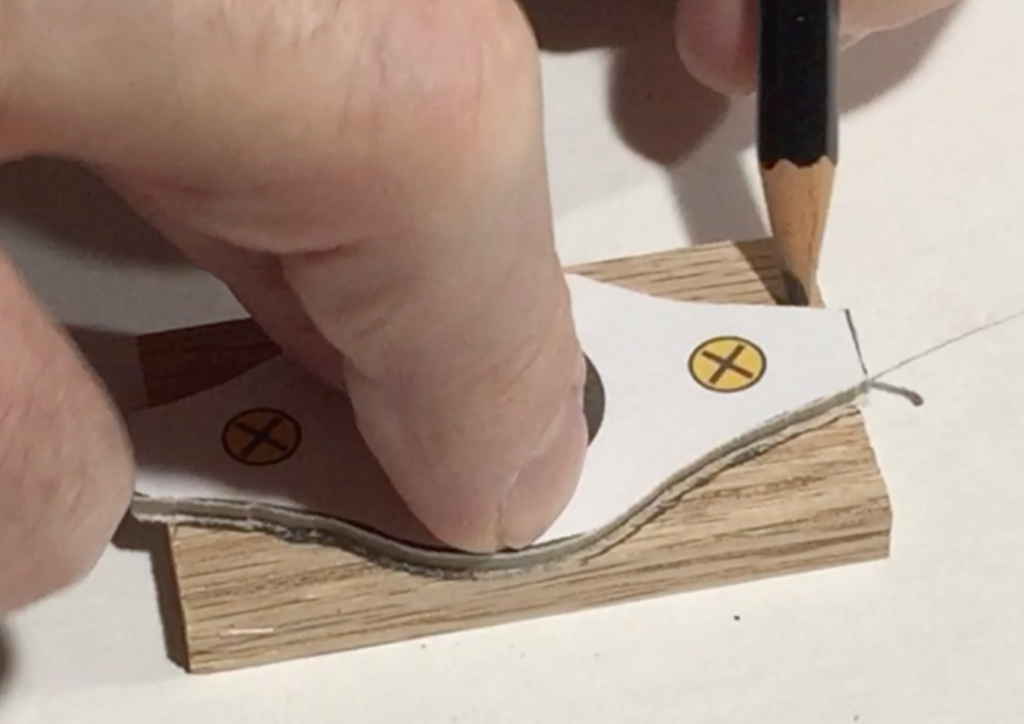
Tracing Membrane Cover 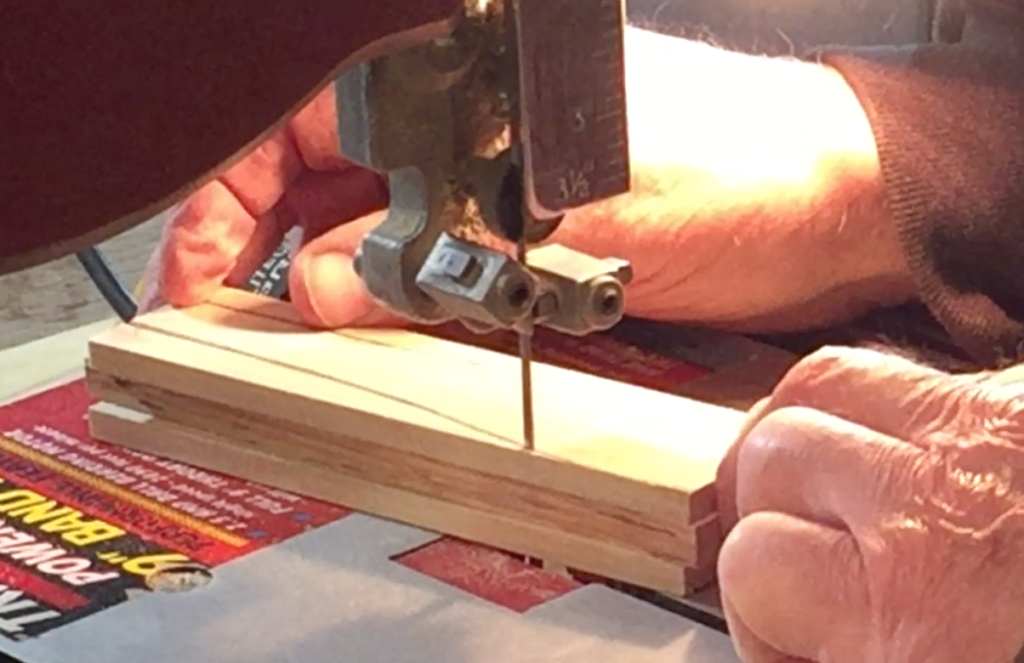
Sawing with Band Saw 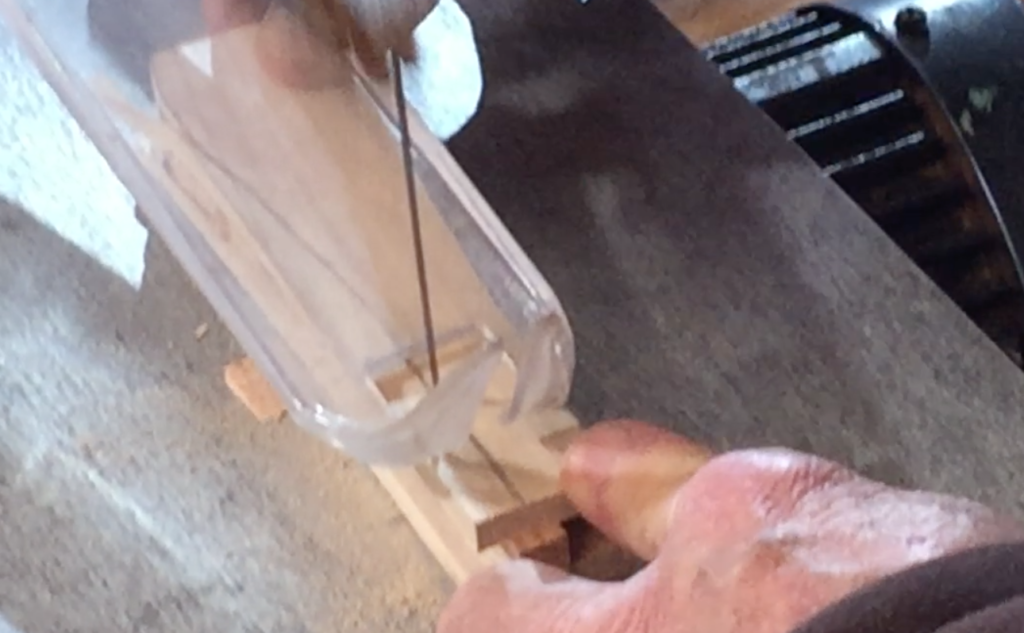
Sawing with Scroll Saw 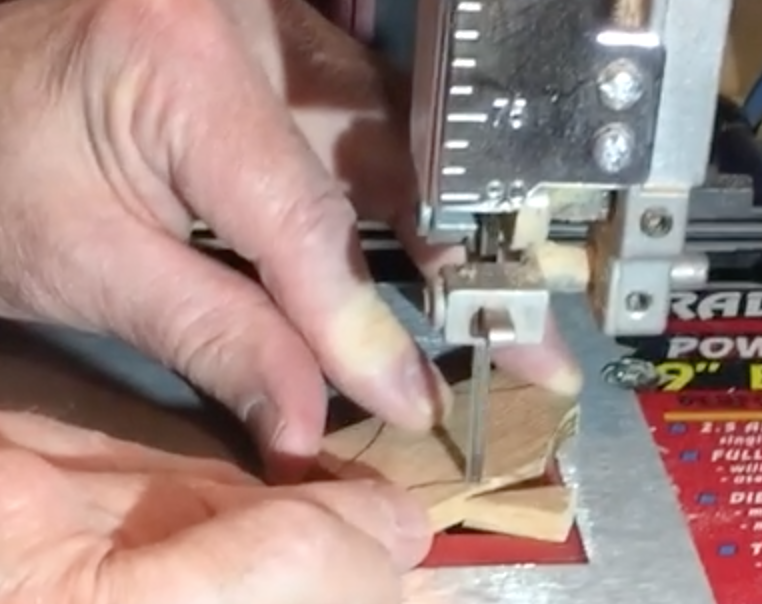
Sawing Membrane Cover 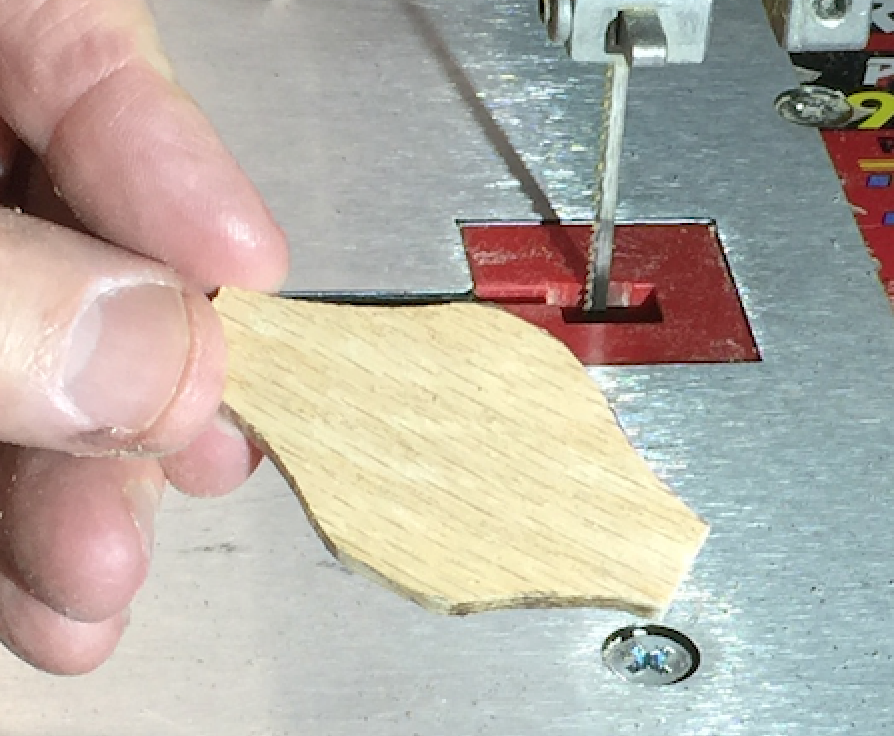
Rough Cut Membrane Cover
When you saw, remember:
- The red areas and guards around blades are there for a reason. Keep your fingers away from the blade.
- Let the blade do the work. Don’t push too hard, because it increases your risk of injury, it’s hard on the saw, and it may leave burn marks on the wood.
- Push the material being sawed down firmly on the support table. This is especially with reciprocating scroll and saber saws (on which the blades move up and down). The band saw blade is pulling the wood down against the table, so this is less of an issue.
Step 4: Attaching the Membrane Cover
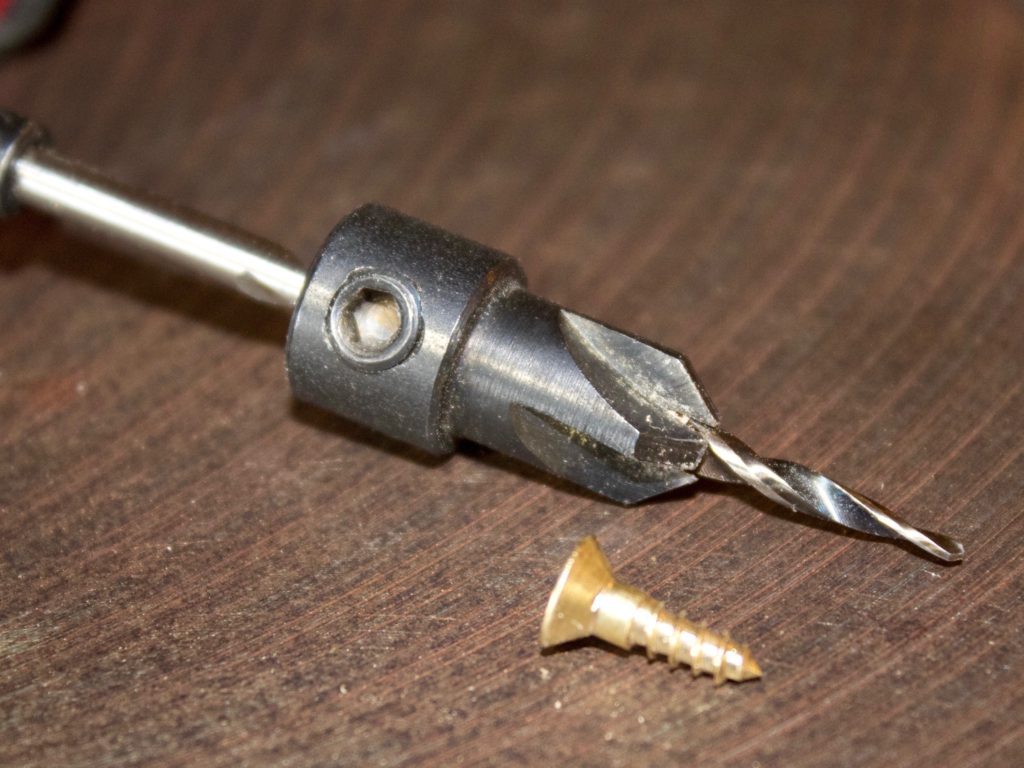
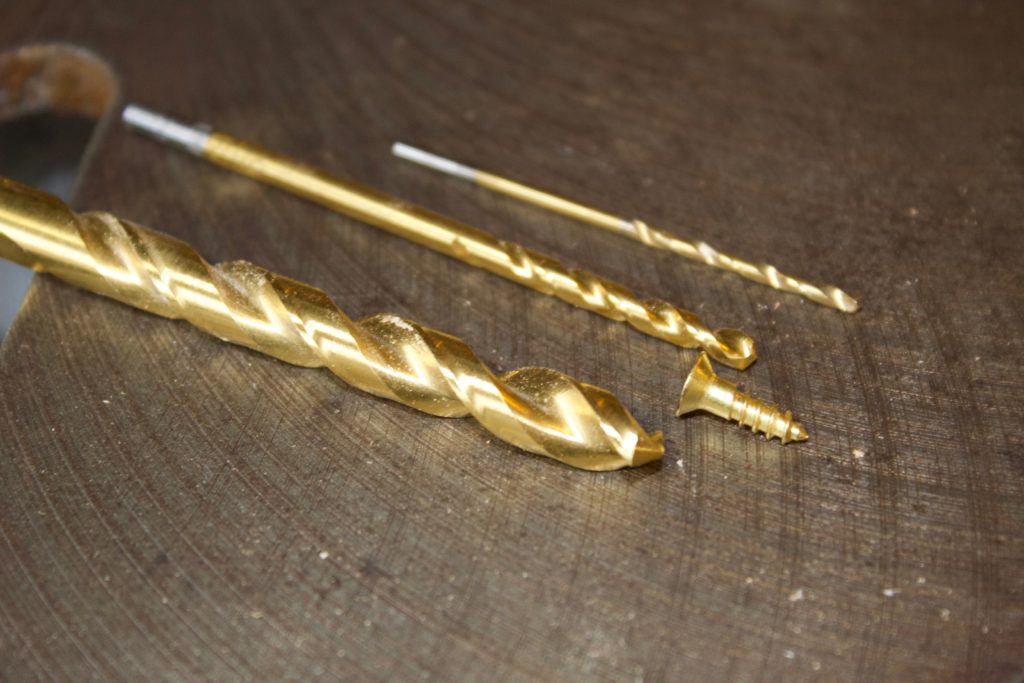
Next we recommend attaching the membrane holder using two small screws. We use either number 6 size screws, 1/2 inch long. (We use brass screws because the look nicer.) We countersink the holes so the screw tops are flush with the wood or slightly below the surface. To do this, hold the shaped membrane holder in place, as far down from the wide end of the sawed kazoo as possible without it extending beyond the sides. Then drill the pilot holes through both the membrane cover and the kazoo at the same time. The size of the pilot hole is important, because with wood this thin the membrane cover may split when you tighten the screw if the hole is not wide enough as the tapered head of the screw pushes outward as the wider parts descend. We like to use countersink bits made for the right screw sizes (we use size 4 or size 6, 1/2″ long), and we adjust the countersink depth using the set screws to match the very short screw lengths. This way we can drill holes the right size in both the cover and the kazoo at the same time. If you don’t have countersink bits, we suggest using three separate bits, a 5/64” bit for the small pilot hole in the kazoo body, a ⅛” bit for the shaft of the screw, and a 5/16” bit, just barely penetrating the surface, to fit the tapered head. Drill the smallest pilot hole first, through both the cover and the kazoo body, then remove the cover and drill the two larger holes through the cover only.
Note: To drive the screws, use a very small Phillips head screwdriver. I used to think that, since they all came to a pretty small point, that as long as it would fit into the screw it would work, but, especially with brass screws, if the screwdriver is too large for the screw it will work until things get tight, and then it will strip the head of the screw.
Step 5: Drilling the Membrane Hole
Next you will want to drill a hole down through the membrane cover and the kazoo box, using a 5/8″ drill bit. Because the wood is so thin, you will want to avoid using a brad point bit, because it will put a lot of outward pressure on the wood and may cause splitting. Take it slow when you drill, letting the blade do the work. We like to use a drill press for this step, but a handheld electric drill will also work. Be sure that the kazoo is held firmly while you drill, and bring the bit down into the center of the circle in the center of the membrane cover.
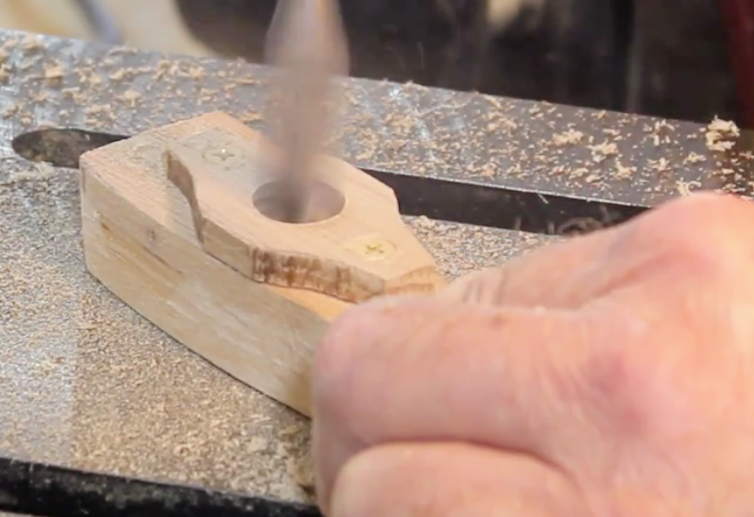
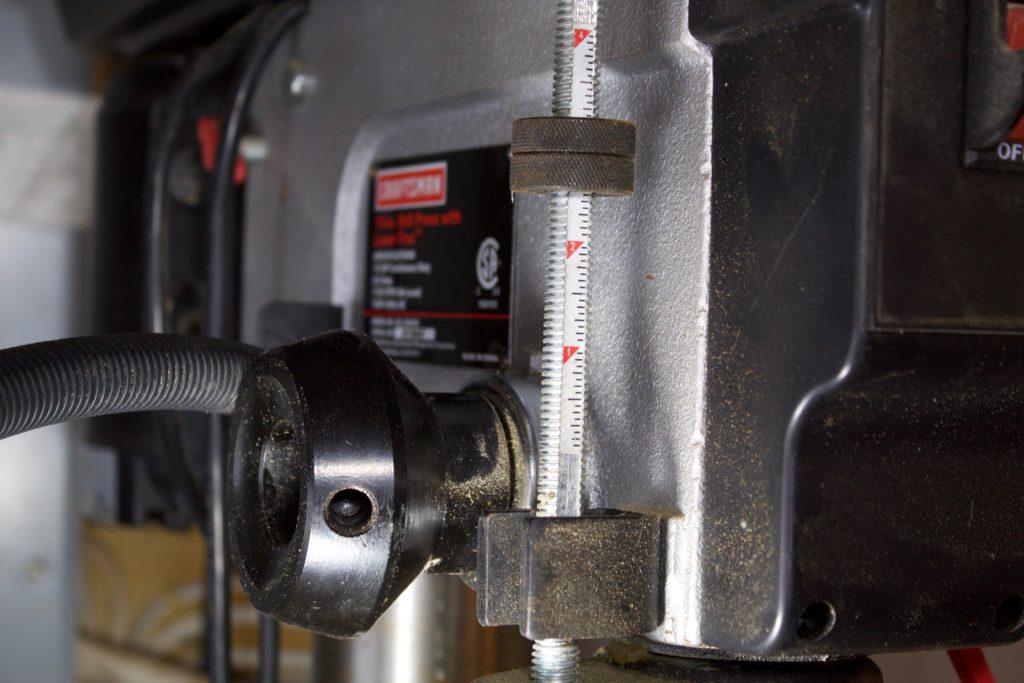
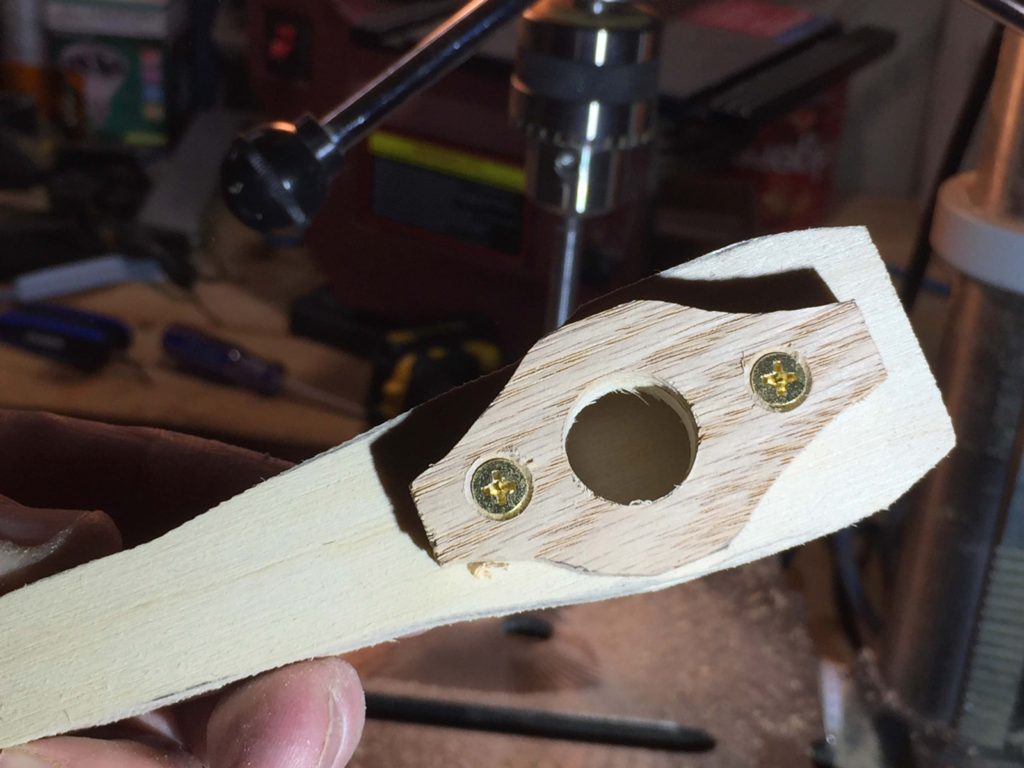
BE SURE TO STOP WHEN YOU FEEL THE BIT PASS THROUGH THE MEMBRANE COVER AND THE TOP OF THE KAZOO. If you are not careful about this you’ll drill right through the bottom of the kazoo as well. We set our drill press to stop at the right depth, using “stops” on the drill press. (See image below.)
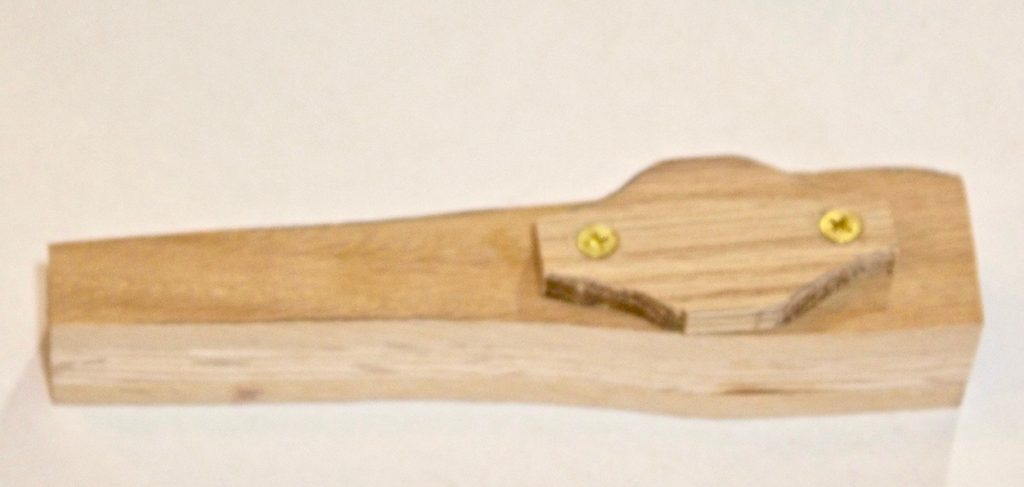
When this step is complete, your kazoo will look something like the image below. If you were to add the membrane now, it would work just fine. The rest just makes the kazoo look awesome.
Step 6: Sanding the Kazoo to Shape
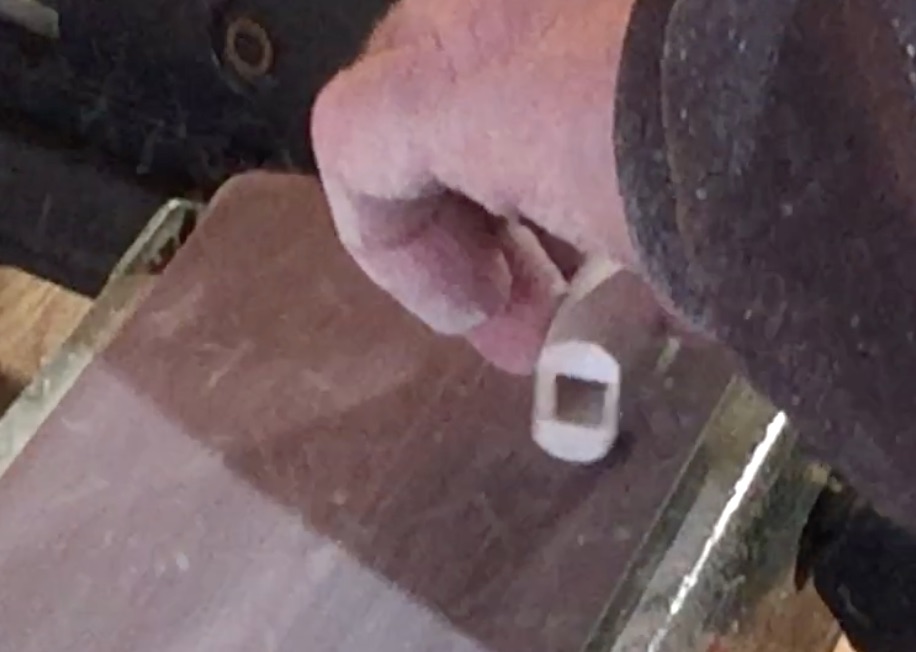
A wooden kazoo feels really good in your hands, largely because of this step. We like to use belt sanders or spindle sanders to round the edges, and perhaps to add a few decorative contours. We won’t add a whole sander safety lesson here, but we do want to remind you to be aware of the direction the sandpaper is moving, and to be vigilant to avoid catching any edges, which will happen if you push an end of the box into the paper. The paper should be running past the ends of the box, not into them. Needless to say, keep your fingers away from the moving sandpaper, as it can scrape your fingers in an instant. We like to use a rolling motion to round the top and bottom edges, coming right up onto the membrane holder to get the look you see in the final image below.
Belt Sanding the Kazoo End 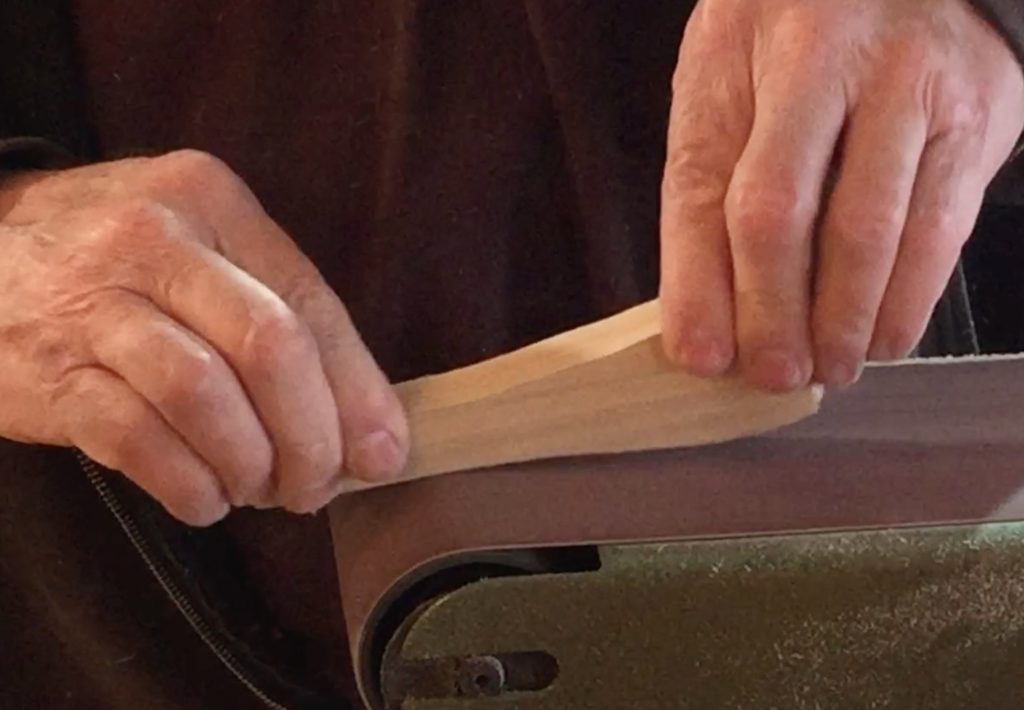
Belt Sanding the Kazoo Side 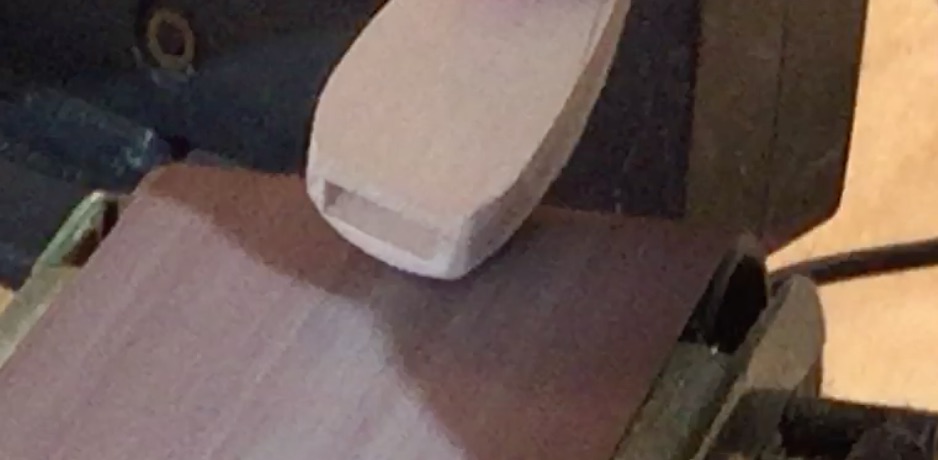
Belt Sanding the Kazoo mouthpiece 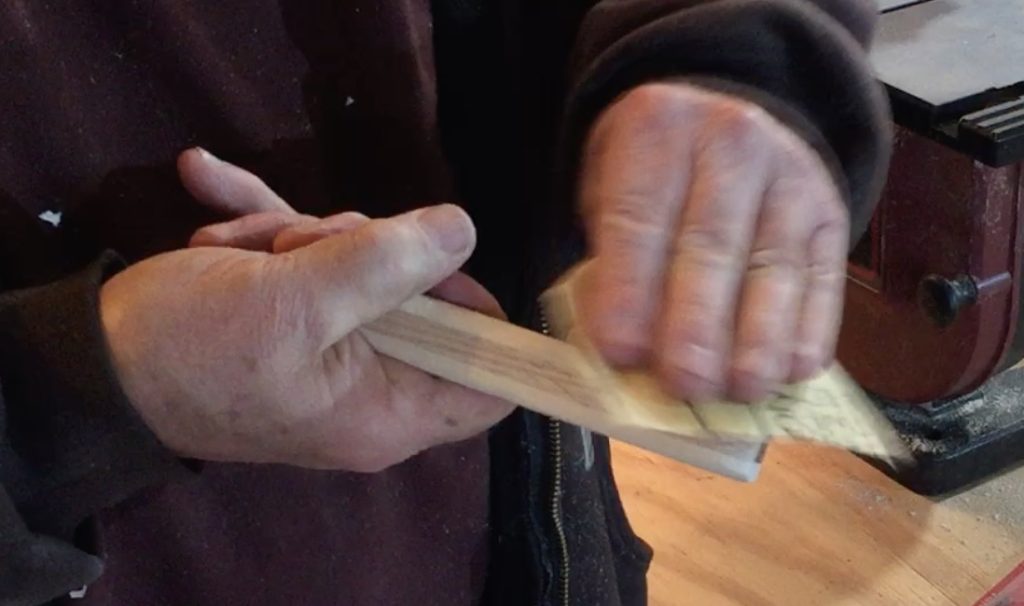
Hand Sanding the Kazoo Body 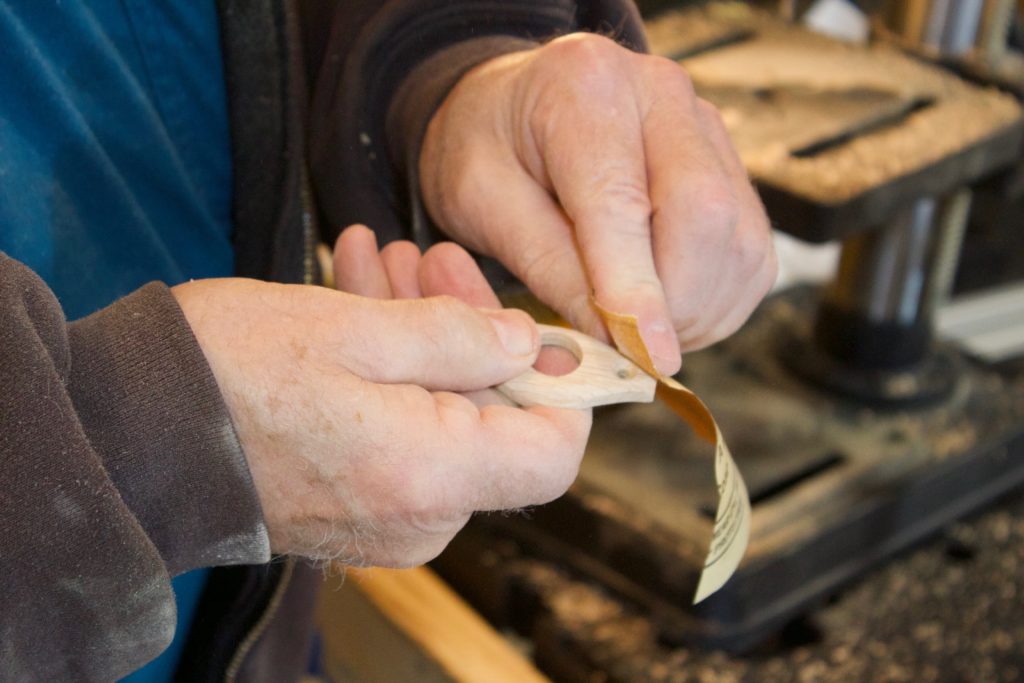
Hand Sanding the Membrane Cover 
Two Kazoos
After using motorized sanders to produce the basic shape you want, you can sand the kazoo by hand to smooth away ridges and to bring the wood to a smoothness that will really look good when the finish is applied. You can use your fingers, as most do, but you can also use the heel of your hand (the fat part of your hand under the thumb to put pressure behind the sandpaper while still letting it give to conform to the contours.
Step 7: Installing the Membrane
The last mandatory step before you have a working kazoo is installing the membrane. Kazoos have been around for many years, and many different types of materials have been used for this purpose. Recommended membranes have included: the outer membrane from an ox intestine (if you don’t believe me, check Wikipedia); waxed paper, cigarette rolling paper, and our favorite, the thin plastic used in modern shopping bags. (If you ask us “Paper or plastic?” we go for plastic in this case.)
So… Remove the screws and take off the membrane cover. Blow the dust away (carefully, with your eyes closed or preferably with a compressor holding it away from your face), or, you can use a damp cloth to remove the dust. Then, cut a small section of the membrane, place it across the hole, and put the membrane cover back on. Don’t worry about getting the membrane tight. We’ve found that a loose membrane can be more effective. When you have the membrane installed, you can trim any excess material sticking out beyond the cover with a razor blade or a knife.

Put Membrane on Kazoo 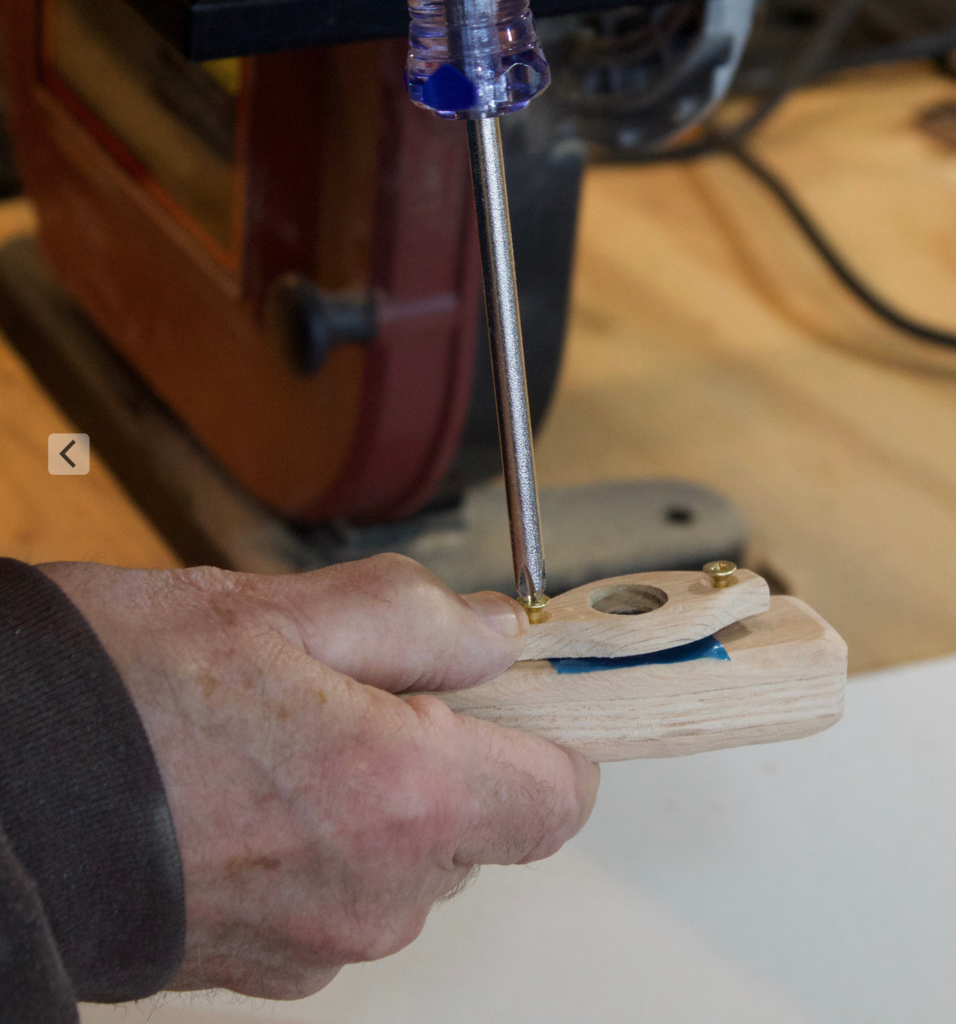
Reattach the Cover 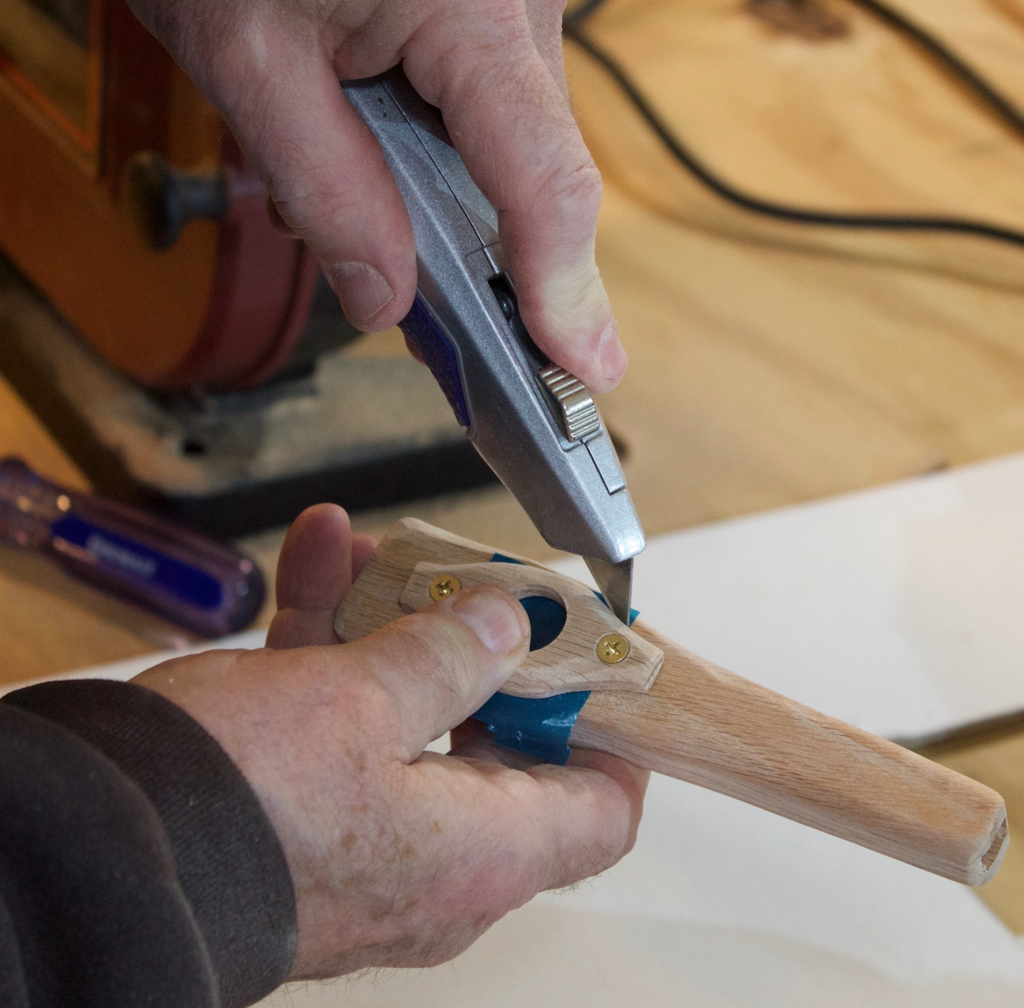
Trim the Membrane 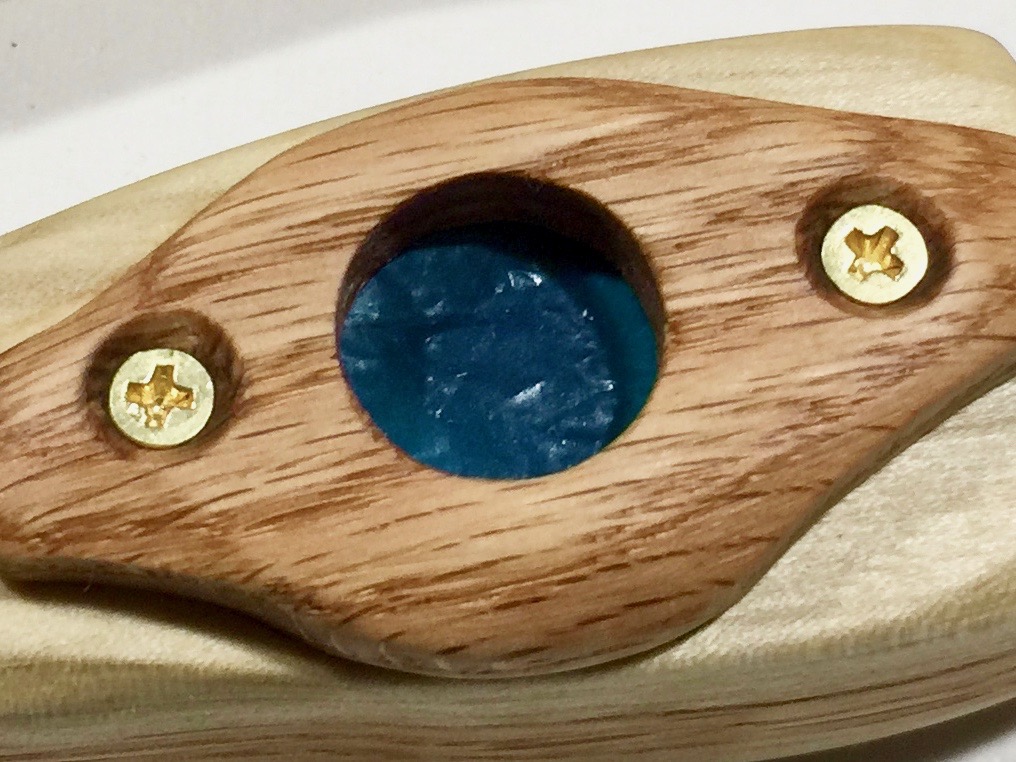
Step 8: Testing the Kazoo
At last! It’s time for some fun. Think of a tune in your head, and hum it into the kazoo. (I like the short theme song from Looney Tunes cartoons or from “The Flintstones.”) Remember, it’s not about blowing, it’s about humming, and using syllables like doot, who, rrrrr and/or brrrr seem to work well.
Step 9: Finishing the Kazoo (Optional)
Your unfinished kazoo will look pretty awesome, but adding a non-toxic finish will really, as they say, “make it pop.” We are using a mixture of linseed oils and beeswax called, “Tried and True Original Wood Finish.” Follow the instructions on the finish, and enjoy your new, handmade work of art.

Video of a hand rubbing the finish onto the kazoo.
Optional Step 10: Let us know how it goes!
We’d love to hear from you with suggestions on how to improve our kazoo, or the instructions on how to make it. We’d also like to hear about your successes and about any mistakes made, so we can improve these instructions. Feel free to attach photos and videos! Click here to contact us.
THANK YOU TO…
Thanks to Camille Sogin Director of “The Rivet,” a local maker space in State College, PA for inviting us to put on a woodworking-based program during one of their “Maker Monday” sessions. We accepted, decided on kazoo making, and that invitation has resulted in all of the resources you see here.
We would also like to thank the people listed below in the “Other Resources” section for sharing their ideas and for making our first project workshop possible.
Other Resources
Kazoo Performances
- Here’s my very favorite kazoo performance, by Joe Penna, also known as Mystery Guitar Man. His video version of the William Tell Overture on kazoo incorporates 52 different video tracks and 128 music tracks, clearly demonstrating what a kazoo can be in the hands of a master.
- As proof that accomplished, popular musicians use kazoos, here’s Eric Clapton and his band using kazoos on San Francisco Bay Blues.
- As proof that kazoos have been around for a while and that they can be played while simultaneously playing guitar, here’s “San Francisco Bay Blues” performed on kazoo and guitar by Tracy Newman 1965.
- Here’s a multitrack kazoo performance of Billie Jean, the song by Michael Jackson.
Other Ways to Make Wooden Kazoos
The video above shows one way, and gives a pretty complete set of directions. Below are a couple of other videos about how to make wooden kazoos. I watched them all and them made my own in several styles.
This Youtube video by Pita Escuela shows a process that’s most like the one we use. In this video, the maker uses a local, sustainably harvested wood and cigarette rolling paper as the membrane. I don’t have any of that and I think the plastic bags are probably better anyway.
Here’s a webpage with plans and instructions by “Boy’s Life,” a magazine associated with Boy Scouts.
This is a Youtube video by Jack Houweling titled, “Make a Kazoo.”
This one from CraftAndu in Estonia is called “DIY Kazoo.” The caption reads “How to make wooden kazoo and how to be famous by playing it.” – But don’t count on becoming famous… at least not for kazoo playing.